ENS Offchain Subnames + Openfort Starter Kit
A Next.js starter kit integrating the Offchain Manager SDK with Openfort Embedded Wallets for creating and managing offchain ENS subnames.Features
- Openfort Embedded Wallets with Wagmi
- Automatic recovery via Shield session endpoint
- Offchain subname creation via secure API routes
- Preferred identity resolution (subname → ENS → truncated address)
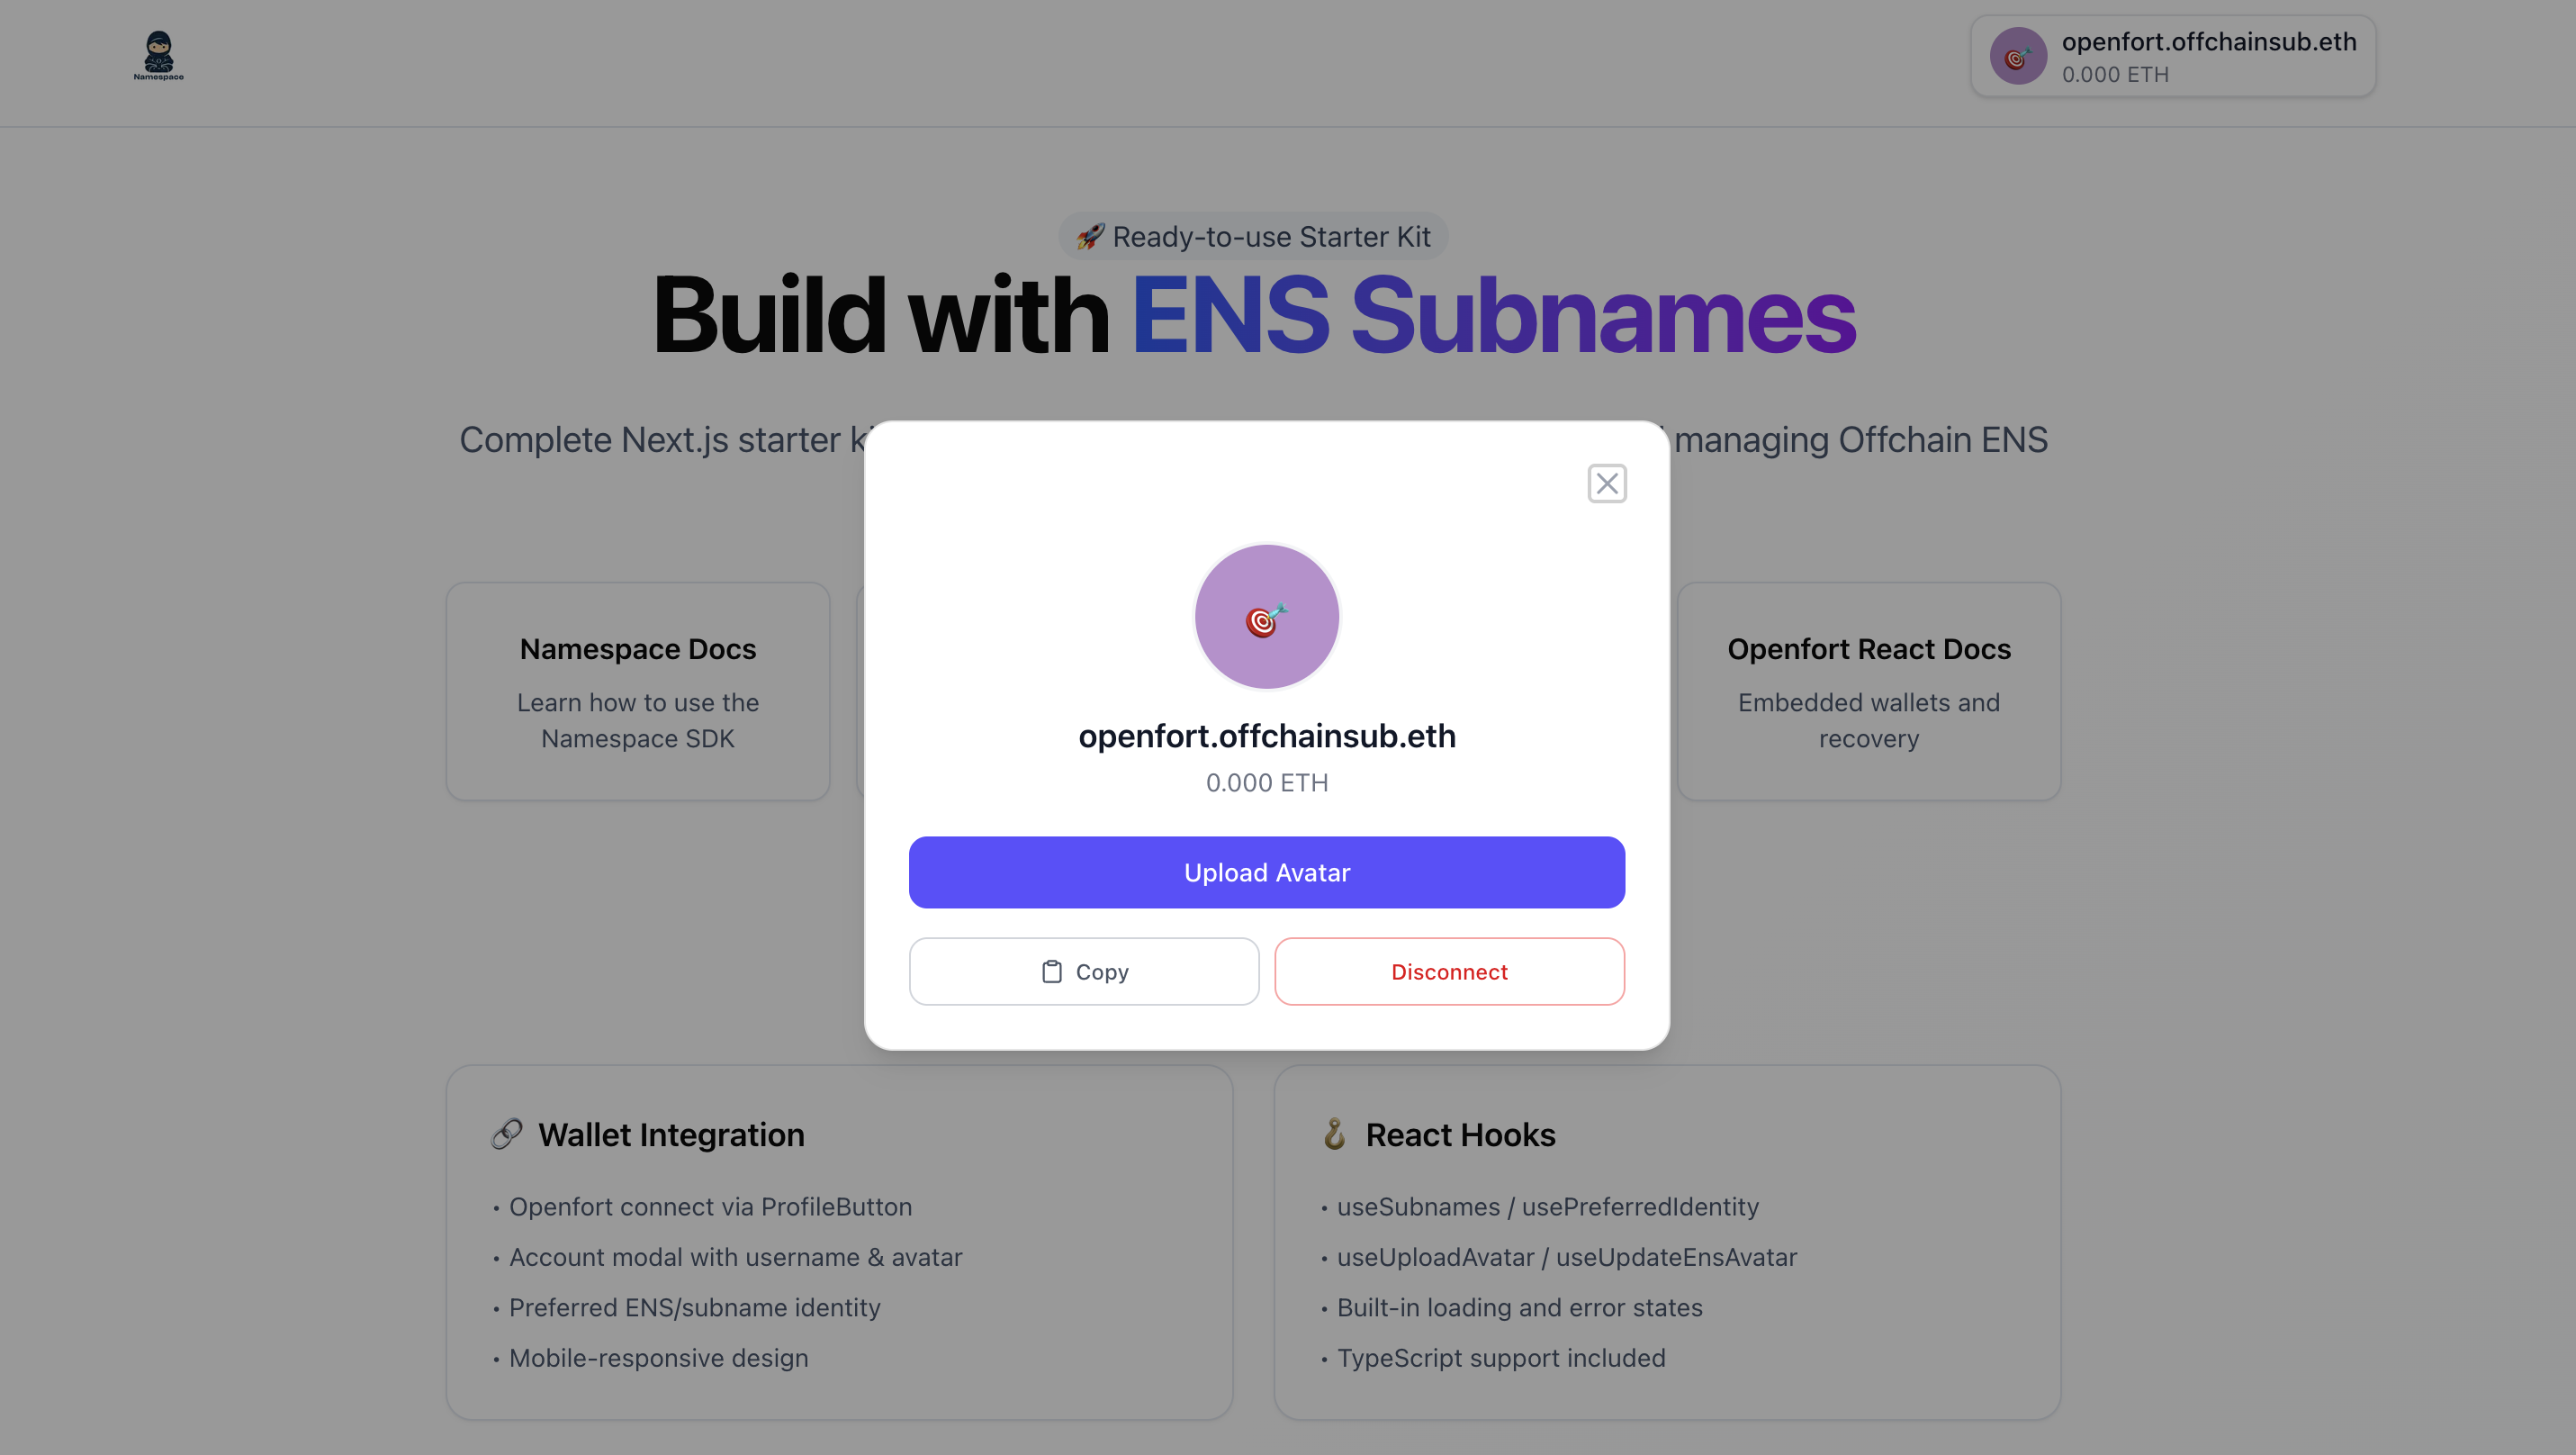
- Account modal with username creation and avatar upload
thenamespace/ens-subnames-openfort-template
Prerequisites
- Node.js v18+
- An ENS name you control (e.g.,
namespace.eth) - Namespace API key from the Namespace App
- Openfort account with API keys and Shield keys
Openfort environment variables
- Open the Openfort Dashboard and create an app
- Copy your publishable key, secret key, and Shield keys
- Create
.env.localand add:
- Never expose server-only secrets to the client.
- The recovery endpoint returns a Shield encryption session for automatic wallet recovery.
Namespace environment variables
- Visit the Namespace App
- Set your ENS name and Namespace API key (see Namespace App API Keys):
What’s included
🔐 Openfort Integration
- Openfort Embedded Wallets with automatic recovery via Shield
- Wagmi setup for EVM interactions
- Account modal with subname creation and avatar upload
- Automatic primary name resolution
File Structure
🏗️ Architecture
- Providers (
/src/app/providers.tsx) - Openfort + Wagmi + React Query - Server-side Namespace client (
/src/lib/namespace.ts) - Uses API key for writes - Client-side Namespace client (
/src/lib/namespace-client.ts) - Read-only, no API key exposure - API routes (
/src/app/api/*/route.ts) - Server-side write operations and Shield session
🪝 Custom Hooks
useSubnames- Fetch subnames and build preferred identityuseIdentity- Combine ENS with preferred identityuseUploadAvatar- SIWE + upload avatar + update text recorduseUpdateEnsAvatar- Helper to update avatar via server API
📡 API Endpoints
POST /api/shield-session- Returns Shield encryption session for automatic recoveryPOST /api/subname/create- Create subnames with custom address and text recordsPOST /api/subname/avatar- Update an ENS avatar text record for a subname
Security & Limitations
⚠️ Important Security Notes
- Never expose your
NAMESPACE_API_KEY,OPENFORT_SECRET_KEY,SHIELD_SECRET_KEY, orSHIELD_ENCRYPTION_SHAREto the client side - Server-only keys are used only in server-side code (
/src/lib/namespace.ts, Shield session route, and API routes) - Client-side operations use the public client without API key
- Validate and sanitize inputs in API routes
📊 Rate Limits
- Up to 2,000 subnames can be created per API key to prevent abuse
- Need more? Contact us on the Builders Group
References
- Openfort React docs:
openfort.io/docs/products/embedded-wallet/react - GitHub repository:
thenamespace/ens-subnames-openfort-template - Openfort Dashboard:
dashboard.openfort.io - SDK Reference:
Offchain Manager SDK